How to Grow Your Own Gourmet Mushrooms at Home
How to Grow Your Own Gourmet Mushrooms at Home
Farm-Style Flavor, Backwoods Know-How
There’s something mighty rewarding about growing your own food—especially when it adds a rich, umami punch to your skillet. Gourmet mushrooms might sound fancy, but they’re easier to grow than you think, and around here at Southern Hogspitality, we believe in pairing Southern soul with a little Western self-reliance.
So pull on your boots, roll up those sleeves, and let’s get to cultivating your own homegrown ‘shrooms—no green thumb required.
What You’ll Need for a Fruiting Block
Start with this simple base recipe for each 5 lb block:
5 cups hardwood pellets
1.4 liters water
1¼ cups wheat bran
12 oz grain spawn (added later)
Pro tip: You’ll get the most bang for your buck making multiple blocks at a time. A standard Presto pressure canner fits four large blocks—perfect for small-batch homestead growing.
Step-by-Step: The Southern Hogspitality Way
1. Mix Your Sawdust Base
Toss hardwood pellets in a big ol’ bin and add your water. Warm water speeds things up, but cold works just fine. Stir until the pellets crumble into sawdust.
2. Add the Wheat Bran
Once your sawdust is nice and fluffy, stir in the wheat bran. Don’t go overboard—more bran means more nutrients, but also a higher risk of contamination. Stir until it’s good and even.
3. Bag It Up
Measure 4 lbs 4 oz of your mix into mushroom grow bags. These bags are made for the job, with filter patches that let the mushrooms breathe while staying safe from airborne nasties.
4. Fold and Filter
Fold the tops of the bags with a filter (Tyvek or painter’s suit squares work great) sandwiched between the gussets. This keeps out the bad stuff while your bags cool down after sterilization.
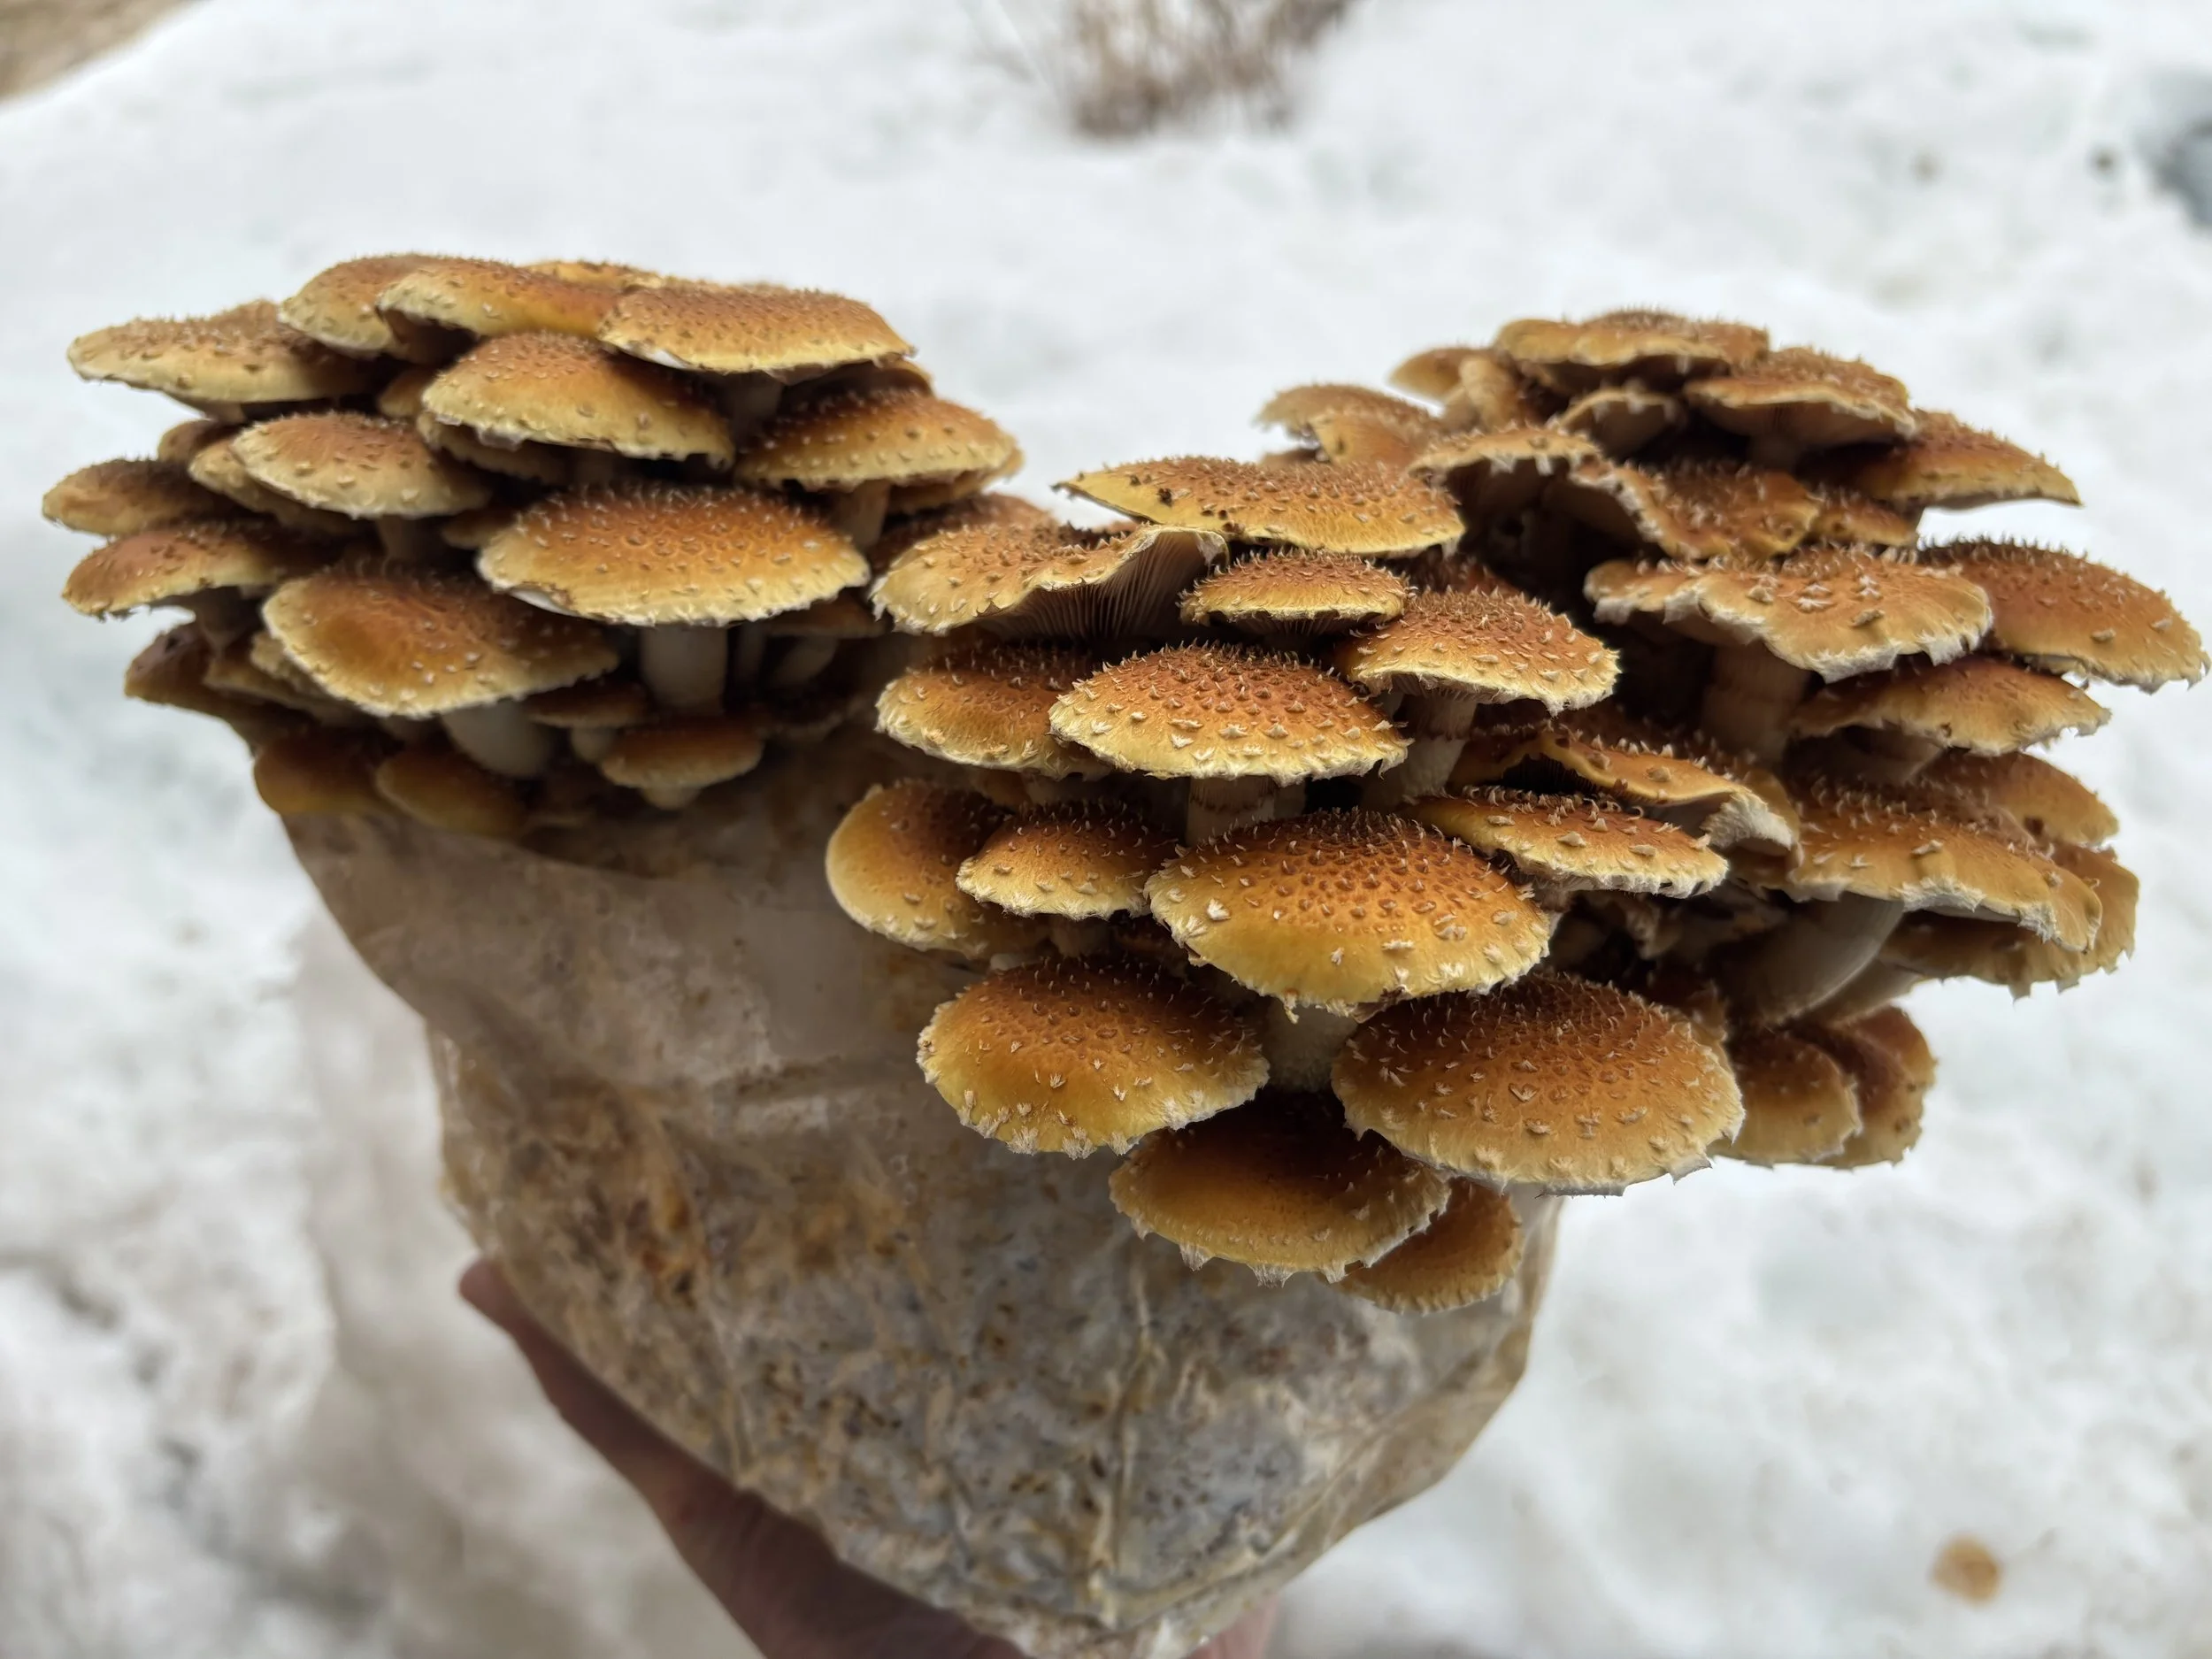
More Mushrooms then we know what do with!
This is a fun homesteading activity that the whole family can enjoy.
5. Sterilize Under Pressure
Load your bags into a pressure sterilizer (don’t let them touch the bottom!), add water just under the bottom bag, and weigh them down with a plate. Pressure sterilize for 2.5 hours to zap any sneaky contaminants.
6. Cool and Inoculate
Let your bags cool completely—overnight works best. Then in a clean space, mix in 12 oz of grain spawn per block. Zip tie the top, give it a shake to spread the spawn, and let the magic begin.
7. Colonize the Block
Set the bags on a shelf and give them time. Most gourmet mushrooms take 10–21 days to colonize. Keep an eye out for contamination—better to toss a bad bag than risk your whole grow.
8. Fruiting Time
Once fully colonized, slice the top off the bag and place it in a humid grow area. In no time, you’ll see tiny pins form and start to grow into full mushrooms.
9. Harvest and Enjoy
When your mushrooms look just right, slice them at the base. Handle that block gently—it can give you 3–4 flushes if you treat it with care. Just rehydrate, watch for signs of life, and keep on fruitin’.
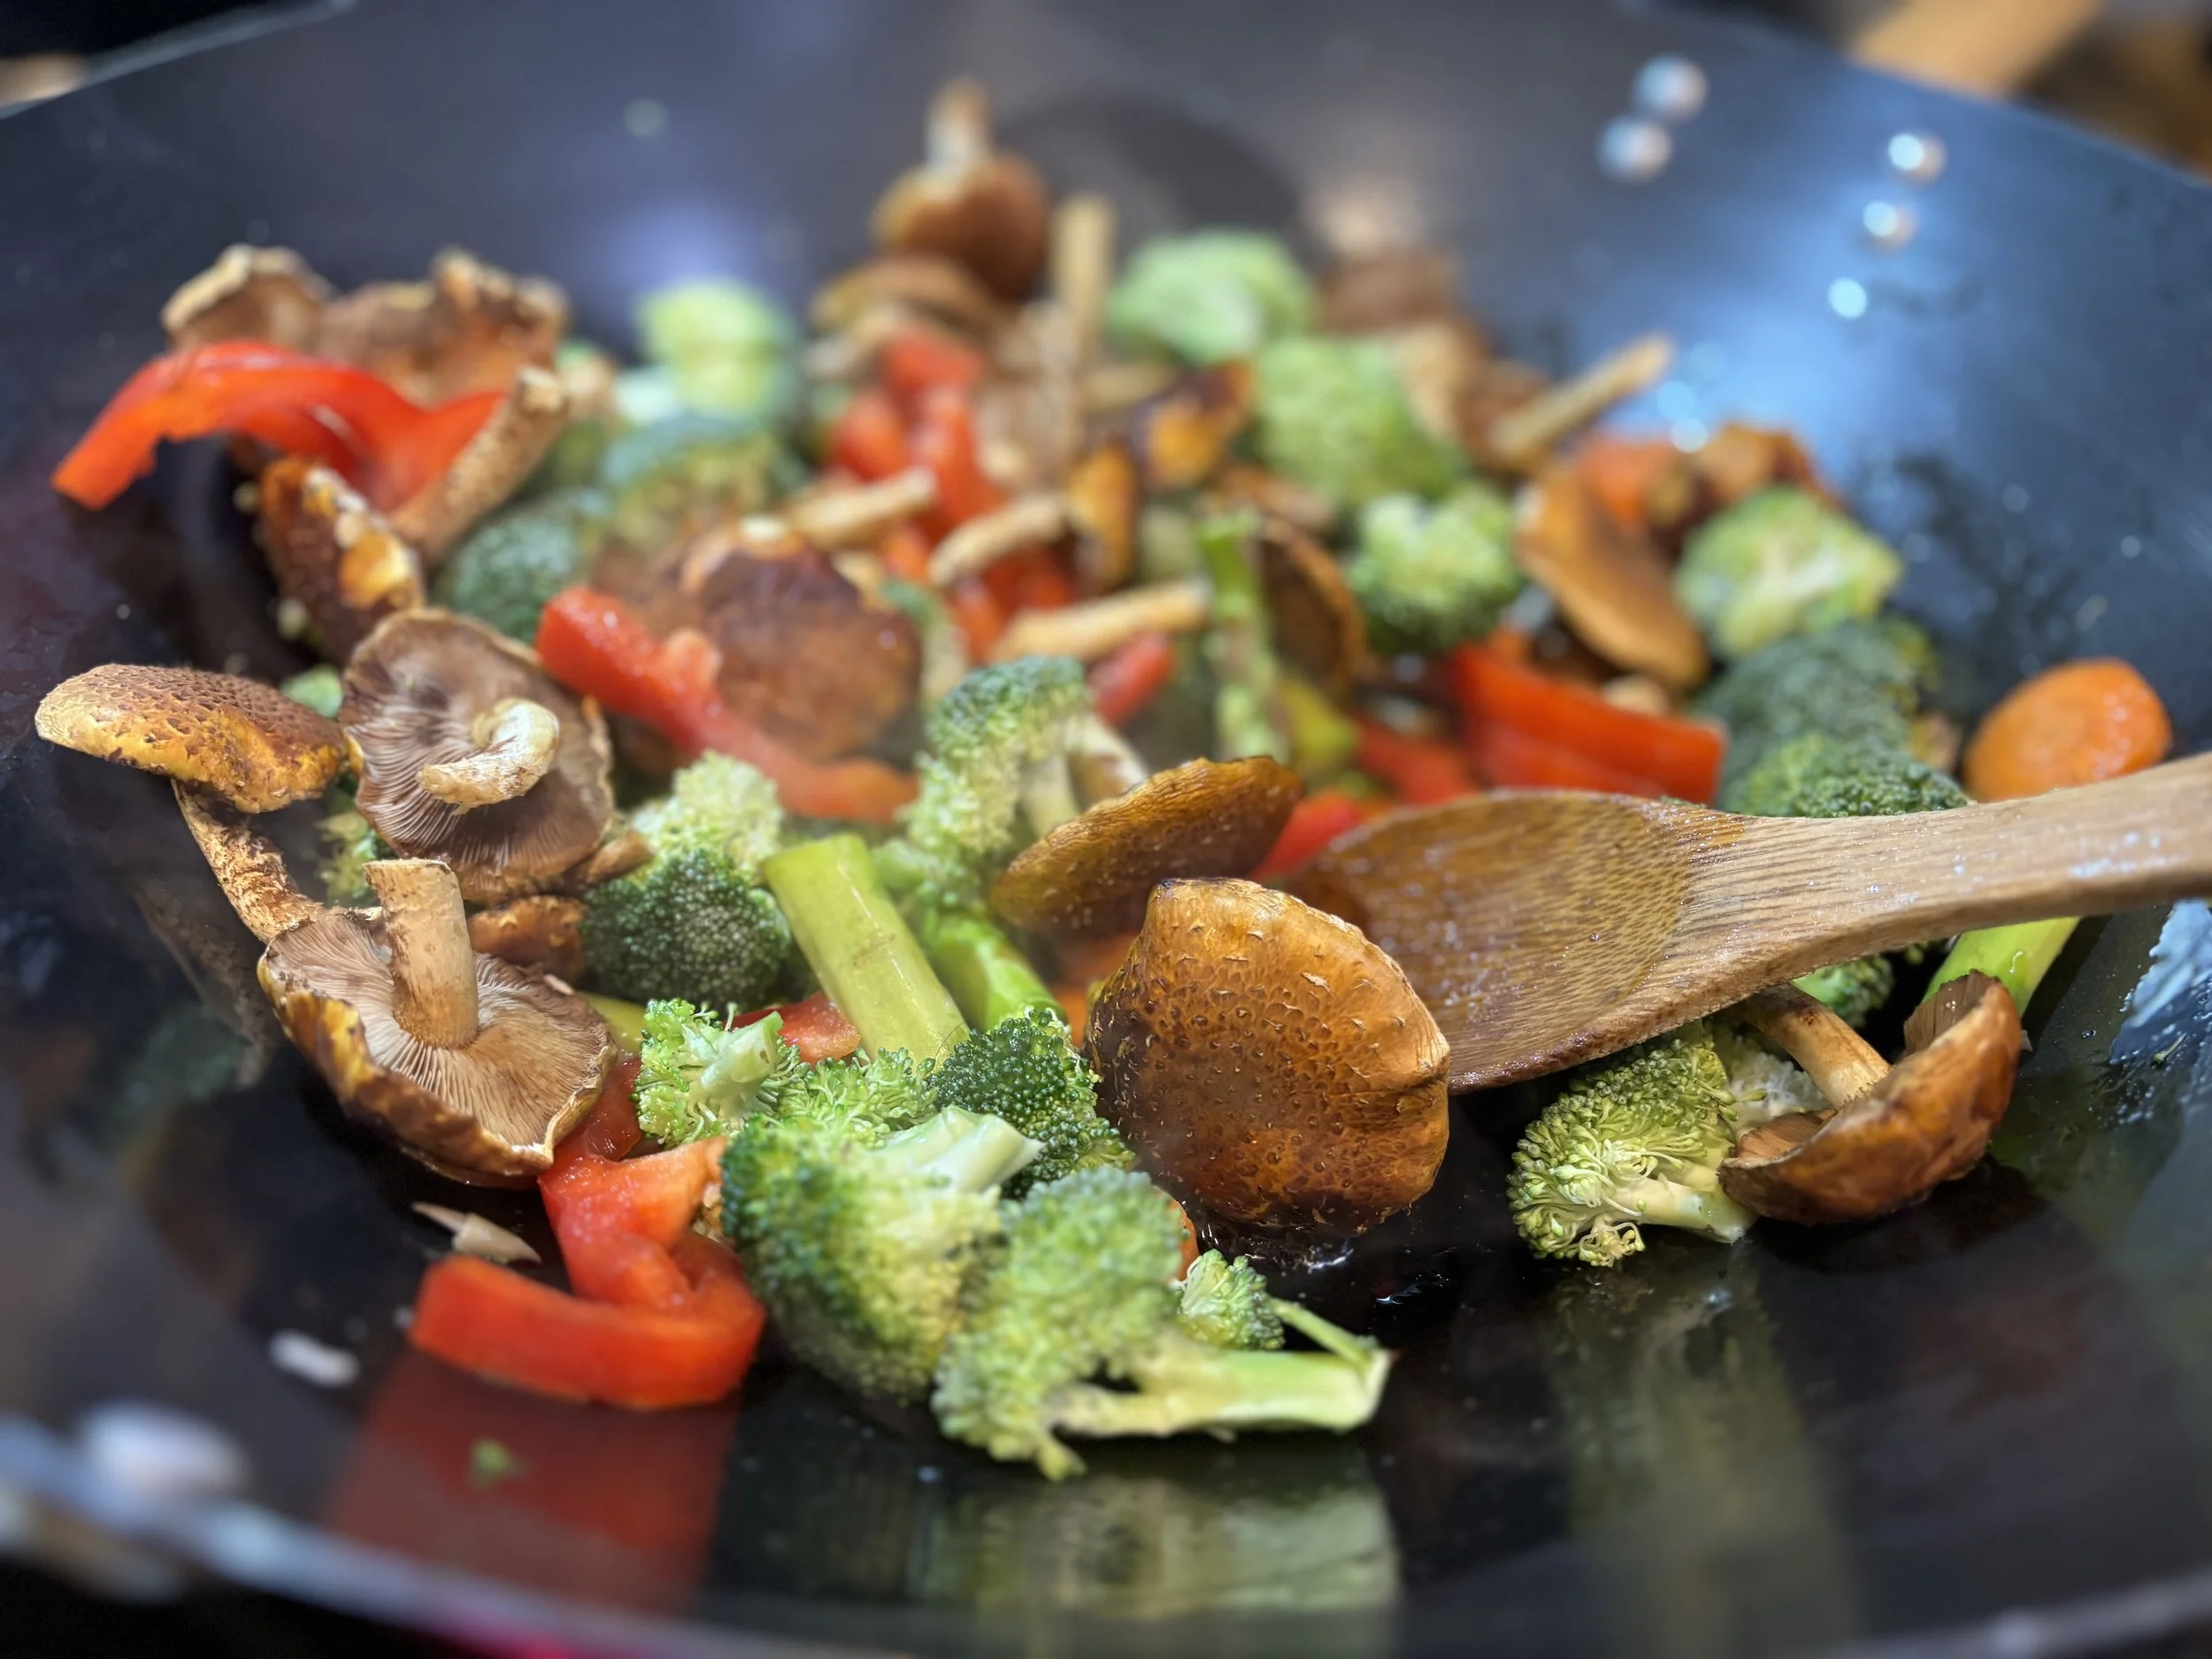
Whether you’re frying them up for breakfast or tossing them on top of a grilled ribeye, nothing beats the flavor of mushrooms you grew yourself.
From homesteads to high country kitchens, we believe good food starts with good roots—and sometimes, those roots are actually fungi.
Enjoy the fruits of your labor at home!
Stay wild, eat well, and keep it Southern.
— The Southern Hogspitality Team
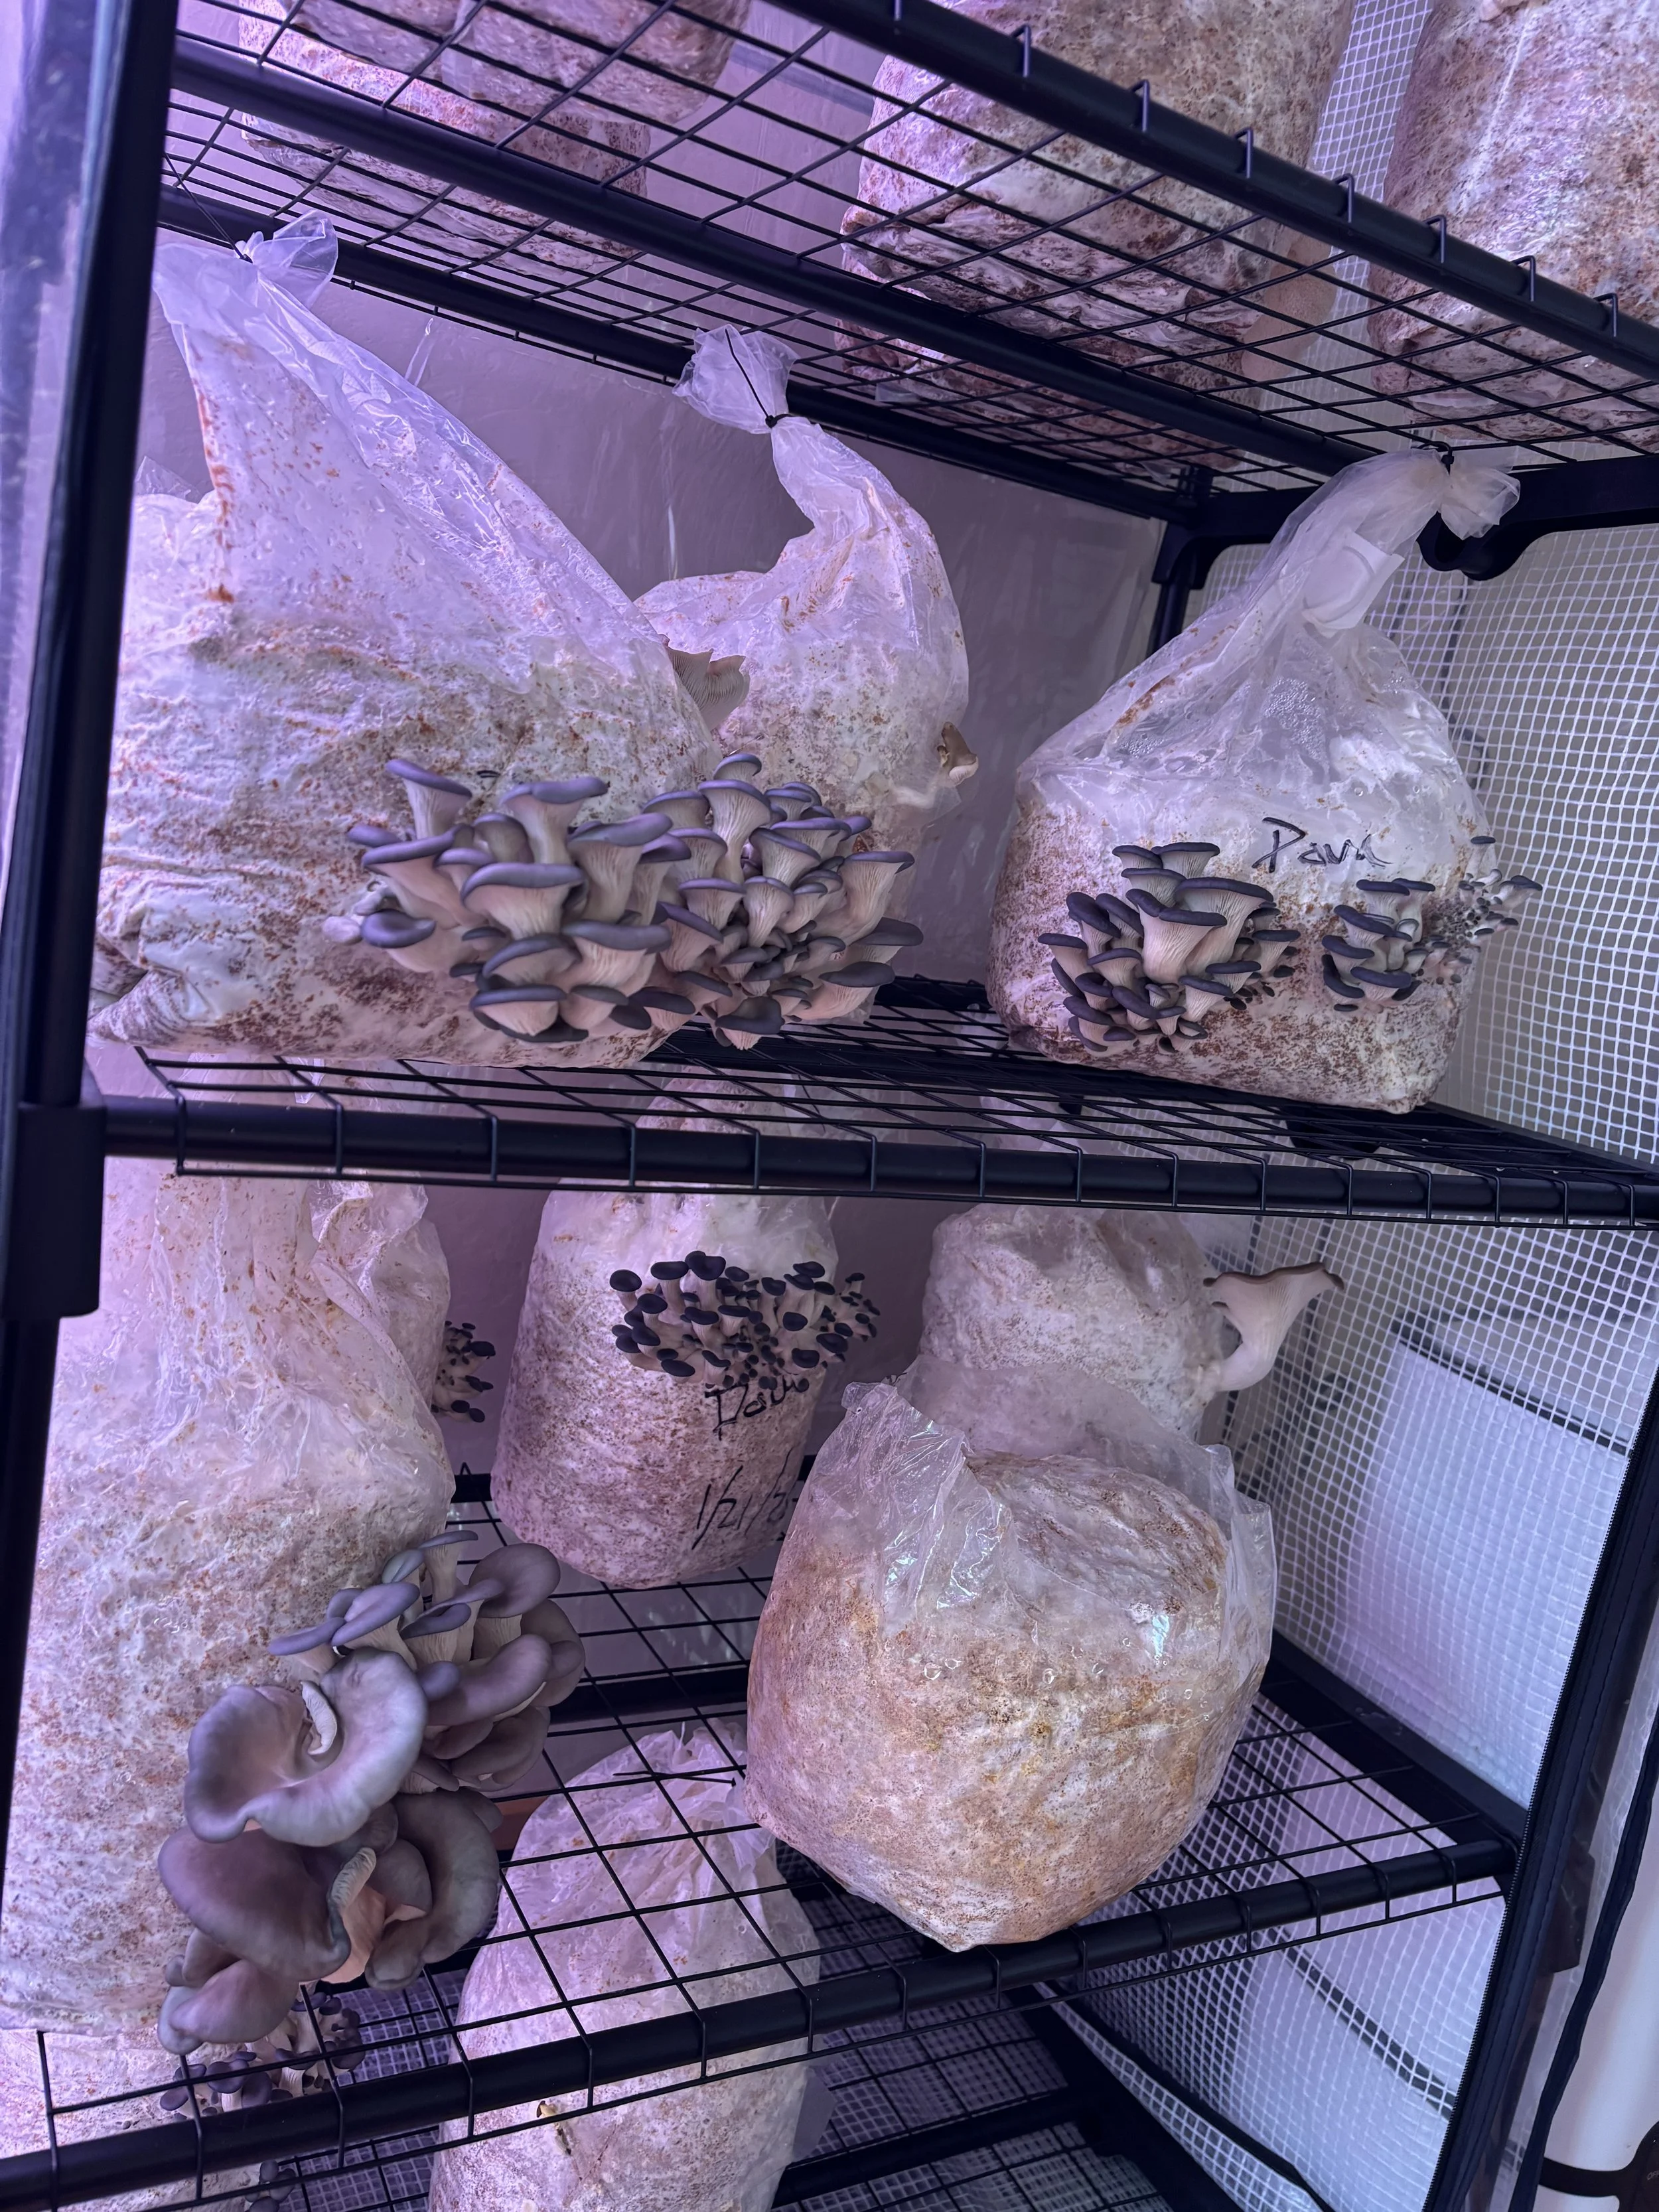
The Southern Hogspitality Home Setup